
When you move there are always compromises. We gave up our beautiful open fire and wonderful garden in favour of offroad parking, an upstairs bathroom and a kitchen about 3 times the size of our last one.
Those of you who have followed my along this journey will know that cooking (and eating) are very important to me and having the chance to have a bigger kitchen, with everything onhand rather than stuck in the loft was too good a chance to give up.
but then there is the compromise I mentioned. No not giving up the open fire (although we will get back to that) or the wonderful garden but the kitchen we inherited which isnt the finished article of my dreams. Yes there is lots more space, yes I can have everything to hand but OH HELL NO it not what I would have chosen.
The kitchen is someones idea of heaven – all cream with lots of detailing and end units, whicker baskets, drawers and a nice metal sink all crammed into the wrong space. It even has a “lovely” green floor thats been lovingly laid. As I said it is someones idea of heaven but it is by no means the kitchen of either of our dreams.
Things came to a head one night after a couple of sherries when the Dazzler admitted that he hated the kitchen as much as I did and that, my dear readers, was the straw that broke the camels back. I was fed up with waiting for that mythical day when we would have the money to magically rip out our kitchen.
BUT we dont have the money to rip this out just yet – and when that day comes it will involve complete remodelling and patio doors adding in to change the look and feel of the house, but in the meantime we needed to do SOMETHING.
So one day this week I spent the evening on Pinterest investigating options. I fell in love with this kitchen belonging to a couple in San Francisco – who used Ikea cabinets with real wood doors – and whilst we by no means have the funds for bespoke doors or handmade wooden floating shelves an idea took shape…

Our current kitchen has similar shaped doors (although ours are melamine) and whilst our worktops are wood – they will work with the grey of the above. I started to strip one of the doors and drawer that had ripped melamine and thought about stripping everything off and painting it. Further investigations showed me that I could not only paint over my existing melamine cupboards but I could do it without even priming thanks to this bad boy…
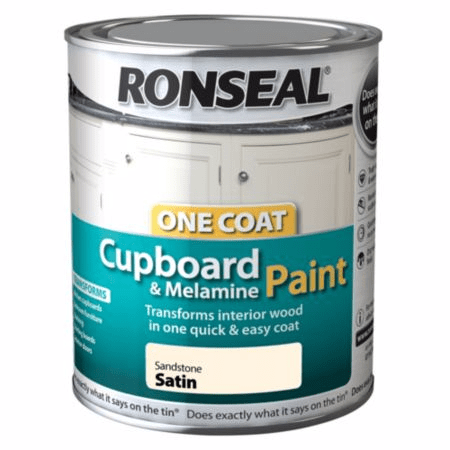
My only concern was how was I going to get the grey I wanted in cupboard paint – I needn’t have worried as in store they offered 2 variations of grey and the granite grey was just what I was looking for.
Now I admit my limitations (my DIY skills are legendary in their kack-handedness) so at this point I called in a friend favour with the wonderful Jo who does lots of odd jobs including great decorating, gardening and apparently – cupboard painting. Her rates are incredibly reasonable but we did a trade this time – which suited both of us fine!!
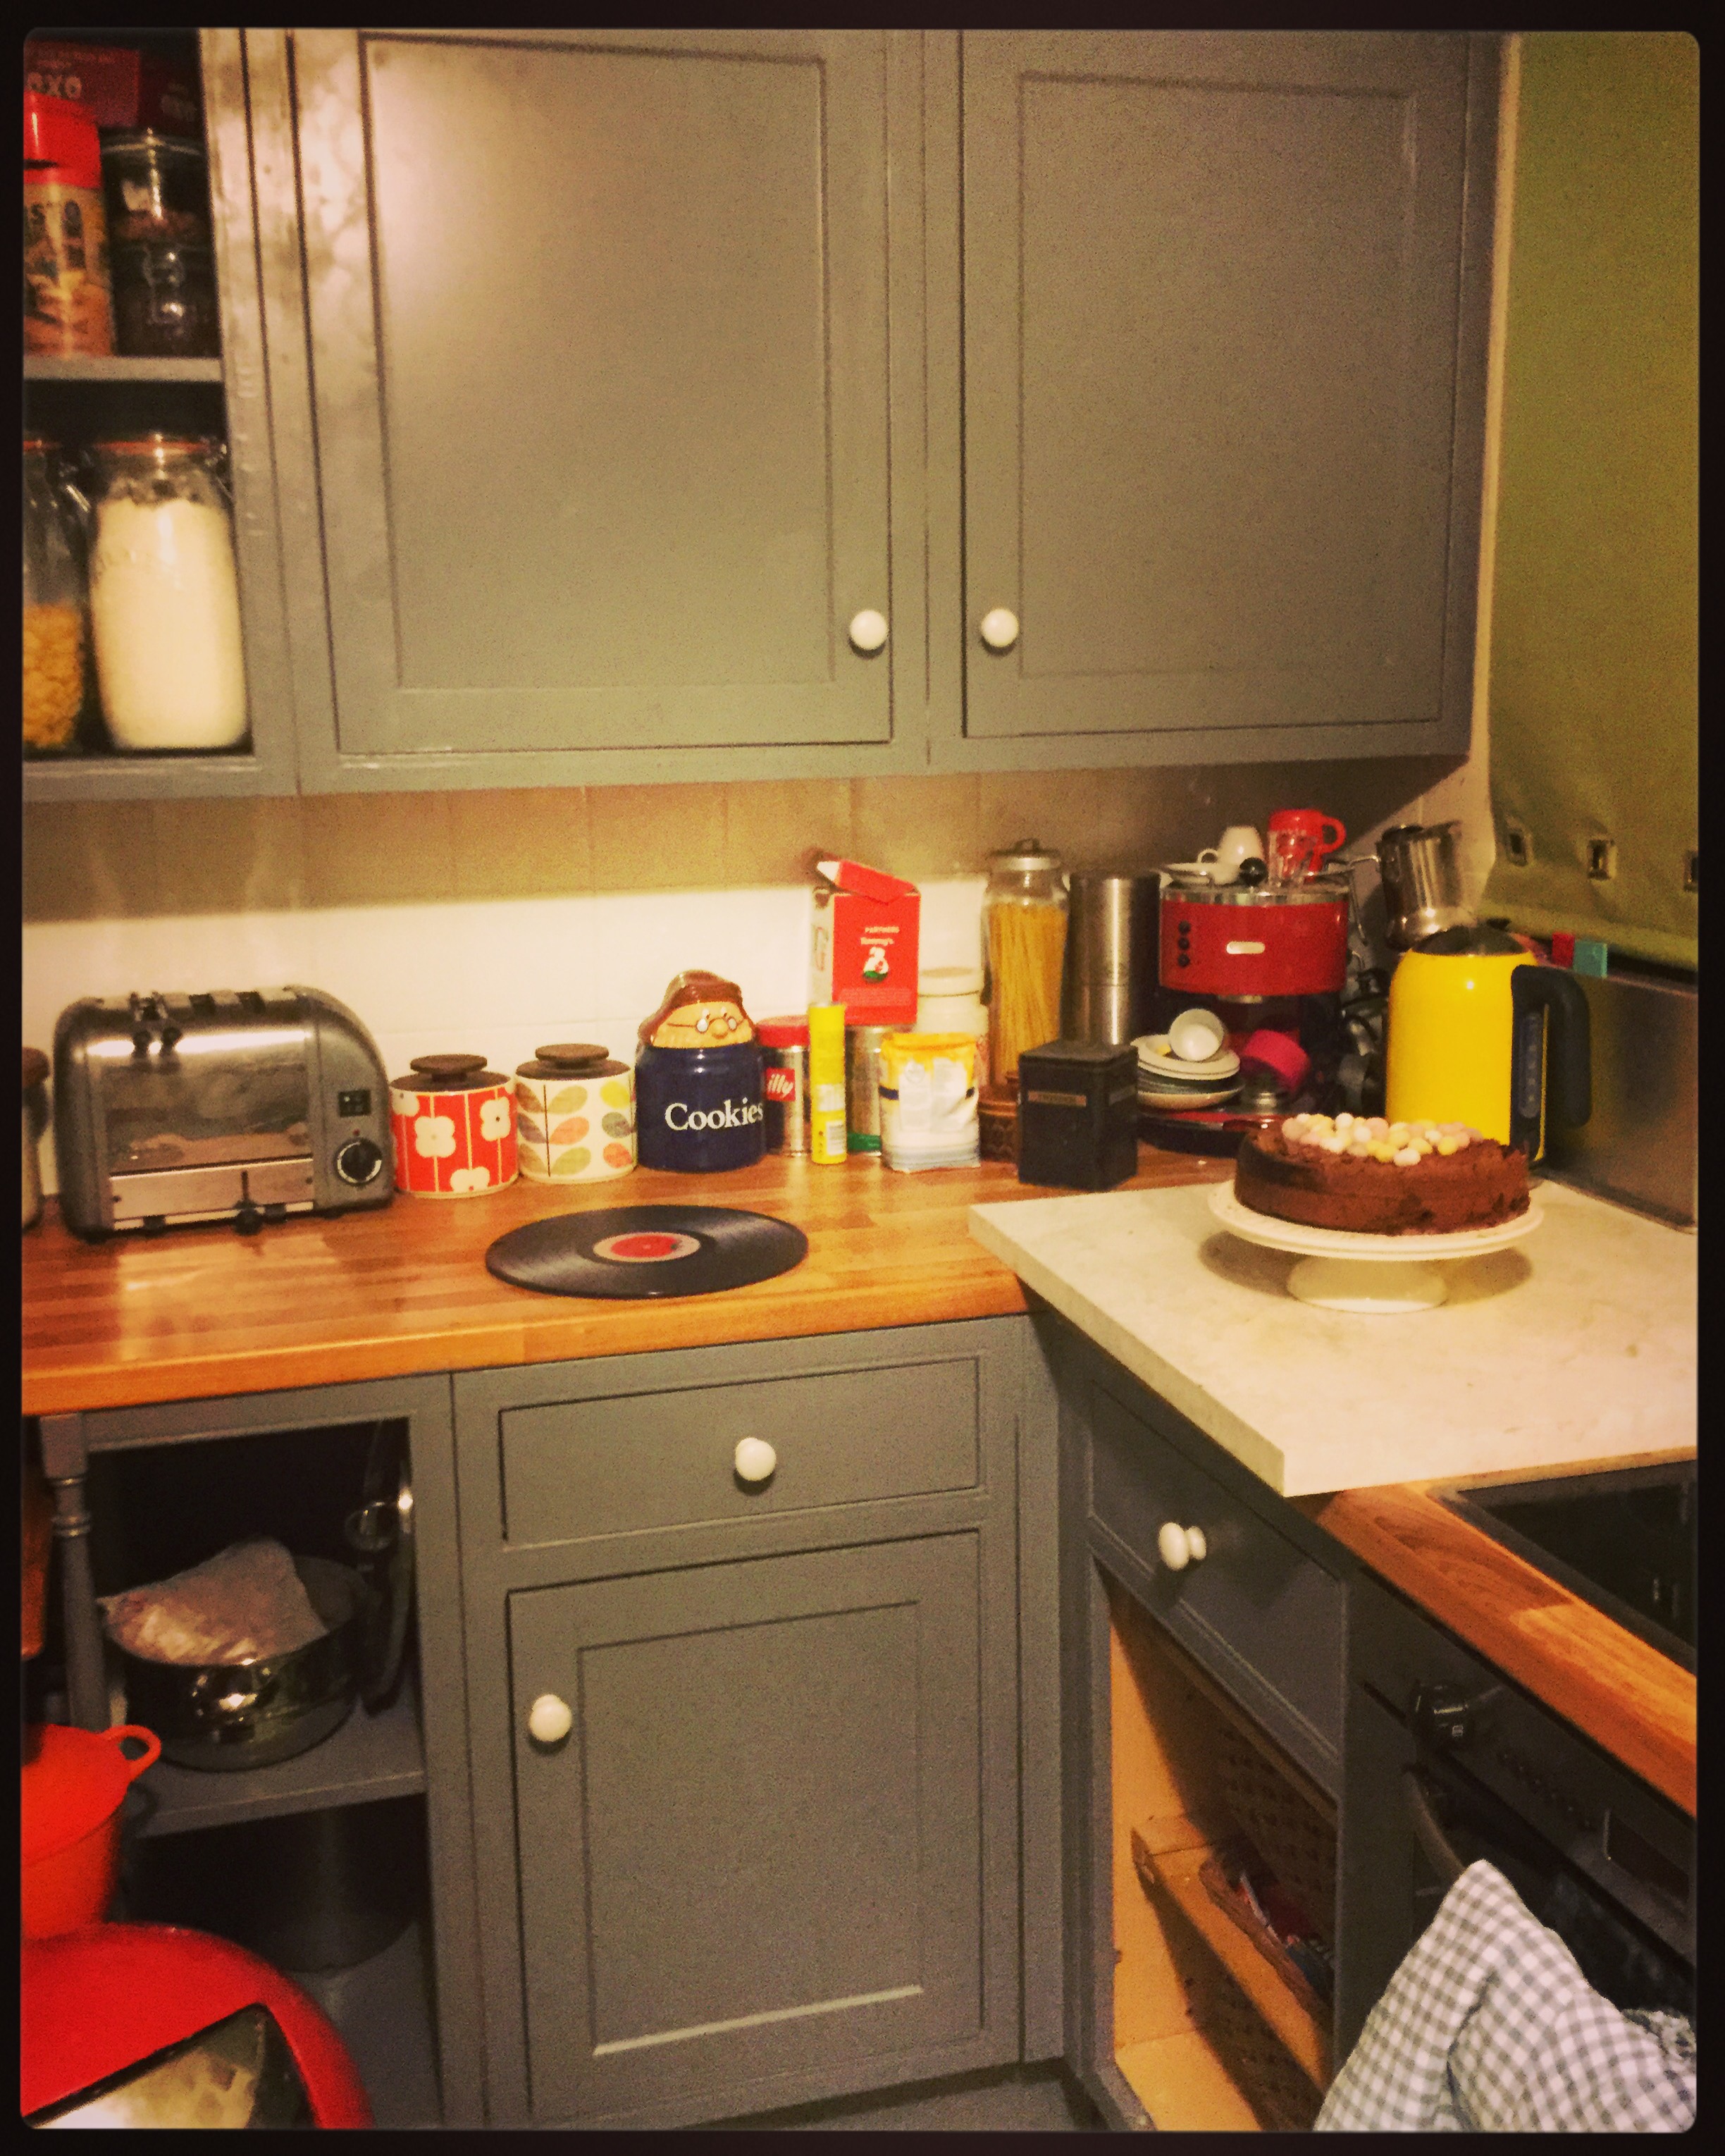
She took my basic idea – converting what we had into a more subtle matt grey design and made it real. She did this by prepping the cupboards, filling in the finishing details that wound me up, and sanding everything down before even starting to paint. By this point I would have done no prep – but would have started half painting cupboard doors and then left the job half done.
Once she finished prepping (and going out to get the things I’d forgotten to get in) Jo then painted the frames, doors and drawer fronts and finally fit our original white nobs back to the cupboards. We are keen to get brass knobs but so far I haven’t found any that inspire me and actually the white nobs were good quality and work against the grey.
She even did things I hadn’t even thought about – like painting the kick-boards to match everything else -and did things I never do (2 coats anyone?) and has left us with something I thought was impossible – a shaker style granite grey kitchen which fits not just our kitchen, but our style.
Its even inspired us to get new flooring and fit some blinds!!
